Setting Up a Live Stream Using a Raspberry Pi Zero W and Pi Camera Version 3
Introduction
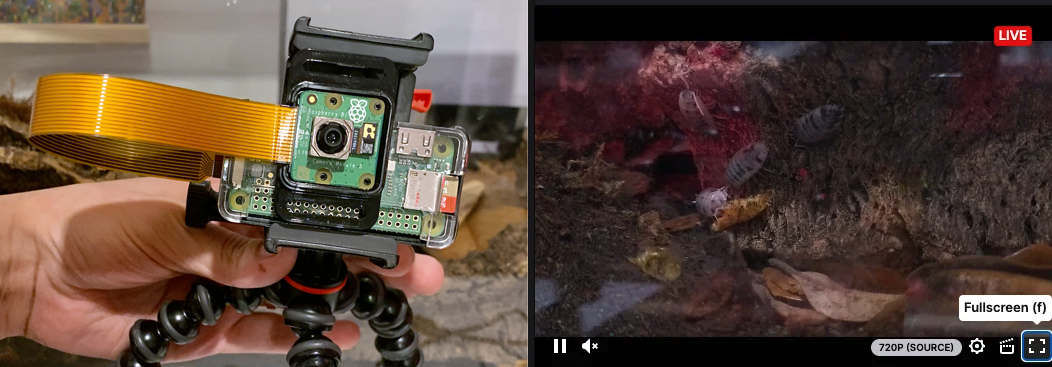
My wife recently became interested in isopods. If you’re not familiar with isopods, they are small crustaceans that are lovingly known as roly-polies. My wife has been keeping them as pets. I thought it would be a fun project to set up a live stream using a Raspberry Pi Zero W and a Pi Camera Version 3.
This guide will walk you through the process of setting up the live stream via Twitch. (or Youtube). Unfortunately, I was unable to get Motion working with the v3 camera module so this is my alternative solution for now.
Please note that this guide won’t work with the v2 camera module.
These were the results.
Materials
Steps
1. Connect the Camera: Attach the camera to your Raspberry Pi using the specific cable for the camera module.
2. Set Up Raspberry Pi:
- Download Raspberry Pi Imager and install the Bullseye OS on a micro SD card.
- Pre-configure your Wi-Fi settings and enable SSH during the setup.
3. Access Raspberry Pi via SSH:
- Initiate an SSH connection to your Raspberry Pi.
4. Install Required Software:
- Install libcamera by following the instructions here.
- Install ffmpeg using your Raspberry Pi’s package manager.
5. Stream to Twitch:
- Use the following command to start streaming:
libcamera-vid -t 0 --inline --listen -o - | ffmpeg -f h264 -i - -c:v libx264 -preset ultrafast -maxrate 2000k -bufsize 4000k -pix_fmt yuv420p -g 50 -r 30 -f flv rtmp://live.twitch.tv/app/<your_stream_key> - Replace
<your_stream_key>with your actual Twitch stream key.
Now, your camera feed should be live on Twitch via your Raspberry Pi! Ensure your internet connection is stable for a smooth streaming experience.